
Crispy Fried Chicken Legs Recipe: Step-by-Step Guide for Perfectly Fried Drumsticks
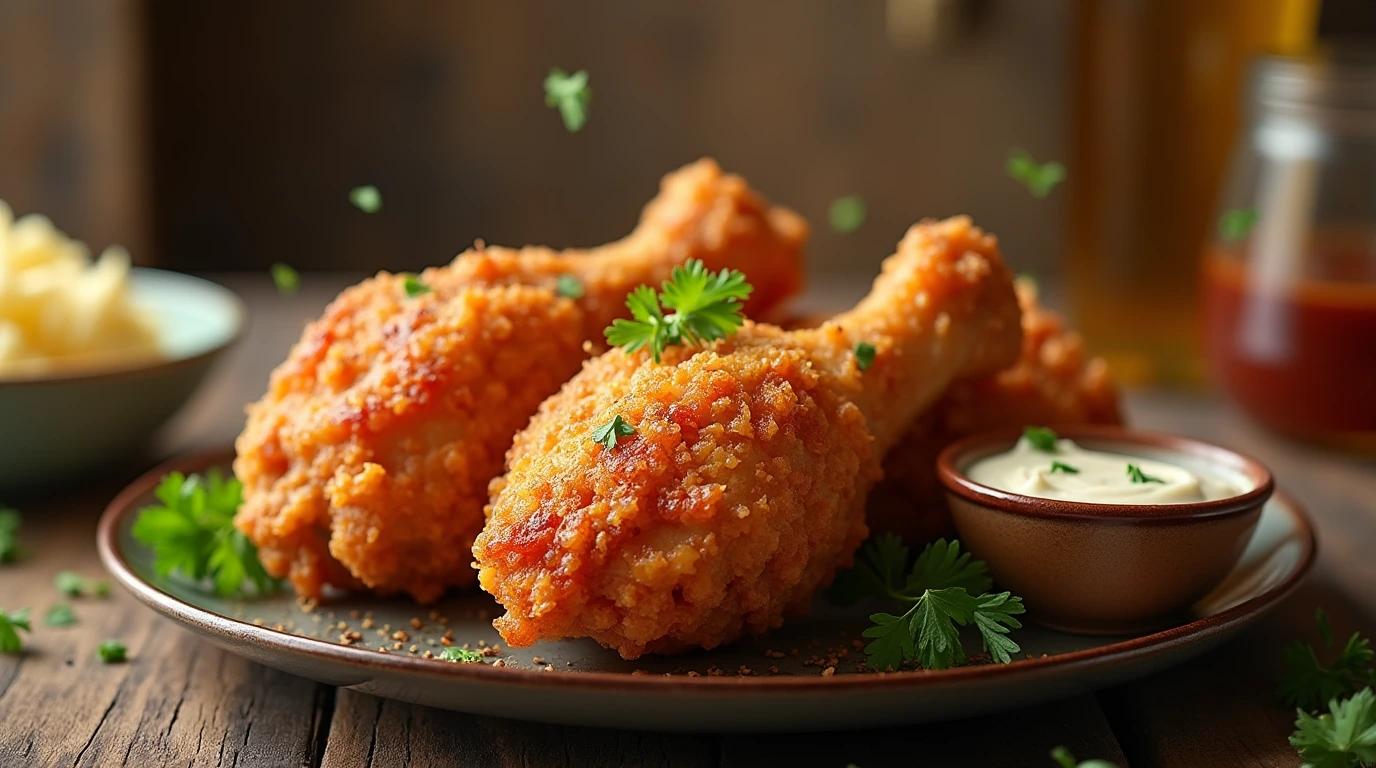
There’s something undeniably satisfying about biting into a perfectly fried chicken legs recipe: the crispy golden coating, the tender juicy meat inside. Whether you’re cooking for your family, hosting a dinner party, or simply craving comfort food, a plate of crispy fried chicken legs is always a crowd-pleaser. But, achieving that perfect crispiness and tenderness requires the right technique, ingredients, and a little patience.
If you’ve ever wondered how to get those fried chicken legs just right—crispy, juicy, and full of flavor—you’re in the right place. In this step-by-step guide, you’ll learn everything you need to know about making the ultimate crispy fried chicken legs. From preparing the chicken to the perfect frying technique, this recipe will have you making restaurant-quality fried chicken right at home.
Table of Contents
Ingredients for Perfectly Crispy Fried Chicken Legs
Before starting the cooking process, it’s essential to gather all the necessary ingredients. The key to achieving crispy chicken legs lies in the combination of the right spices, the right flour, and a few secret ingredients that enhance the texture and flavor. Here’s what you’ll need:
| Ingredient | Quantity | Notes |
|---|---|---|
| Chicken drumsticks | 10 pieces | Skin-on for best crispiness |
| Buttermilk | 2 cups | For marinating and tenderness |
| All-purpose flour | 1 ½ cups | For breading |
| Cornstarch | 2 tbsp | Adds extra crispiness |
| Garlic powder | 1 tsp | Flavor enhancer |
| Onion powder | 1 tsp | Adds depth of flavor |
| Paprika | 1 tsp | For color and subtle spice |
| Salt and pepper | To taste | Season to your liking |
| Vegetable oil (for frying) | 4 cups | For frying |
Why These Ingredients Matter:
- Chicken Drumsticks: Opt for skin-on chicken drumsticks to get that golden, crispy coating. The skin helps hold the breading and crisps up beautifully when fried.
- Buttermilk: Soaking your chicken legs in buttermilk before frying does more than just add flavor. It tenderizes the meat, ensuring juicy, flavorful chicken.
- Cornstarch: Adding cornstarch to the flour mixture is the key to getting that extra crunch on your fried chicken legs. It absorbs moisture and helps form a crispy, airy coating.
- Spices: Garlic powder, onion powder, and paprika not only add flavor but also contribute to the deep golden color of your fried chicken legs.
Preparing the Chicken Legs: Marinating for Tenderness
The first step in making crispy fried chicken legs is marinating. Marinating the chicken legs in buttermilk ensures they remain juicy and flavorful while giving the breading something to cling to. Plus, buttermilk is slightly acidic, which helps tenderize the chicken.
Why Marinating is Essential
When you marinate chicken legs in buttermilk, you allow the meat to absorb moisture, making it tender. The spices you add to the buttermilk also work their way into the chicken, infusing it with flavor. If you skip this step, the chicken may lack that juicy, tender texture that makes fried chicken so irresistible.
Step-by-Step Marinating Process:
- Mix the Marinade: In a large bowl, combine the buttermilk, salt, pepper, and any additional spices or herbs you like. For extra flavor, consider adding a bit of hot sauce or cayenne pepper.
- Submerge the Chicken Legs: Add your chicken drumsticks to the buttermilk mixture, making sure they’re fully submerged. Cover the bowl and refrigerate for at least 2 hours, but for best results, let them marinate overnight.
- Rest Before Frying: Once marinated, take the chicken legs out of the fridge. Let them rest for about 10-15 minutes to come to room temperature before frying. This ensures even cooking.
Breading the Chicken Legs: Achieving That Golden, Crispy Coating
Breading is one of the most important steps in making crispy fried chicken legs. It’s what gives the chicken its satisfying crunch. The right ratio of flour, cornstarch, and spices will help you achieve the perfect crispiness.
The Perfect Breading Ratio
To create the crispiest fried chicken, use a mixture of all-purpose flour and cornstarch. Cornstarch helps to form a light, crunchy crust that doesn’t get soggy easily. The spices you add to the breading mixture will ensure that every bite is full of flavor.
Step-by-Step Breading Process:
- Prepare the Breading Mixture: In a shallow dish, combine the flour, cornstarch, garlic powder, onion powder, paprika, salt, and pepper. Mix everything thoroughly.
- Coat the Chicken Legs: Remove each chicken drumstick from the buttermilk marinade and dredge it in the flour mixture. Press down lightly to ensure the coating sticks well.
- Double Coat for Extra Crispiness: For an extra crispy coating, repeat the dredging process—dip the chicken back into the buttermilk and coat it in the flour mixture again. This double coating adds even more crunch and ensures that the coating doesn’t fall off during frying.


Frying the Chicken Legs: Creating the Perfect Crunch
Now, it’s time to fry the chicken legs to perfection. The key to crispy fried chicken is getting the oil at the right temperature. Too hot, and the coating will burn before the chicken is fully cooked; too cold, and the chicken will absorb too much oil and become greasy.
The Best Frying Method
Deep frying is the best method for achieving crispy fried chicken legs. You’ll need a large skillet or deep fryer to hold enough oil to fully submerge the chicken.
Step-by-Step Frying Process:
- Heat the Oil: Pour the vegetable oil into a deep skillet or fryer. Heat the oil over medium-high heat until it reaches 350°F (175°C). Use a thermometer to check the temperature and make sure it’s perfect for frying.
- Fry the Chicken: Carefully lower the breaded chicken legs into the hot oil, one at a time, being careful not to overcrowd the pan. This allows the chicken to fry evenly. Fry the chicken legs for about 10-12 minutes, turning occasionally.
- Check the Internal Temperature: The chicken is done when it reaches an internal temperature of 165°F (74°C). The outside should be golden brown and crispy.
Tips for Even Frying:
- Avoid Overcrowding the Pan: Fry the chicken in batches if necessary. Too much chicken in the pan can cause the oil temperature to drop, resulting in greasy chicken.
- Drain the Chicken: Once the chicken legs are fried, transfer them to a paper towel-lined plate or a wire rack to drain any excess oil.
Serving and Enjoying Your Crispy Fried Chicken Legs
Now that your crispy fried chicken legs are ready, it’s time to enjoy them! But what should you serve with your delicious fried chicken? Here are a few side dish ideas that pair perfectly with crispy chicken legs:
Serving Suggestions:
- Mashed Potatoes: Creamy mashed potatoes with a hint of garlic complement the crispy chicken.
- Coleslaw: A tangy, crunchy coleslaw provides a refreshing contrast to the rich, fried chicken.
- Cornbread: Sweet cornbread is a classic side that balances the savory flavor of the chicken.
- Gravy: If you’re feeling indulgent, a rich gravy adds even more flavor to the meal.
How to Store Leftover Fried Chicken Legs:
If you’re lucky enough to have leftovers, here’s how to store them:
- In the Refrigerator: Place leftover fried chicken in an airtight container and store it in the fridge for up to 3 days.
- Reheating: To keep the chicken crispy, reheat it in the oven at 375°F for 10-15 minutes. Avoid microwaving, as this can make the coating soggy.
Frequently Asked Questions (FAQ) About Fried Chicken Legs Recipe
What’s the secret to crispy fried chicken legs?
The secret lies in the marinating process and the double coating of flour and cornstarch. The buttermilk tenderizes the chicken, while the flour-cornstarch mixture creates that perfect crispy layer.
Can I bake fried chicken legs instead of frying them?
While frying is the best method for crispy fried chicken, you can bake the chicken legs at 400°F for 35-40 minutes if you prefer a healthier option. To keep them crispy, you can brush the chicken with a little oil or butter before baking.
How long should I fry chicken legs?
Fry the chicken legs for about 10-12 minutes, or until the internal temperature reaches 165°F and the outside is golden and crispy.
How do I prevent the coating from falling off?
To prevent the breading from falling off, make sure to press the flour mixture into the chicken when breading it, and avoid over-wetting the chicken with too much buttermilk.
Conclusion: Your Perfectly Crispy Fried Chicken Legs Are Ready!
And there you have it! A simple, yet foolproof recipe for crispy fried chicken legs that are sure to impress. From the marinating process to the perfect frying technique, these fried chicken legs will be a hit at any meal. Don’t forget to serve them with your favorite sides and enjoy the crispy, golden goodness!
Now, it’s time to get cooking. Follow this step-by-step guide, and you’ll be savoring crispy fried chicken legs that taste just like they came from your favorite restaurant. Share your cooking experience in the comments below and let us know how your fried chicken turned out!
Ready to try it out? Grab your ingredients and start frying!
Give as your review
There are no reviews yet. Be the first one to write one.